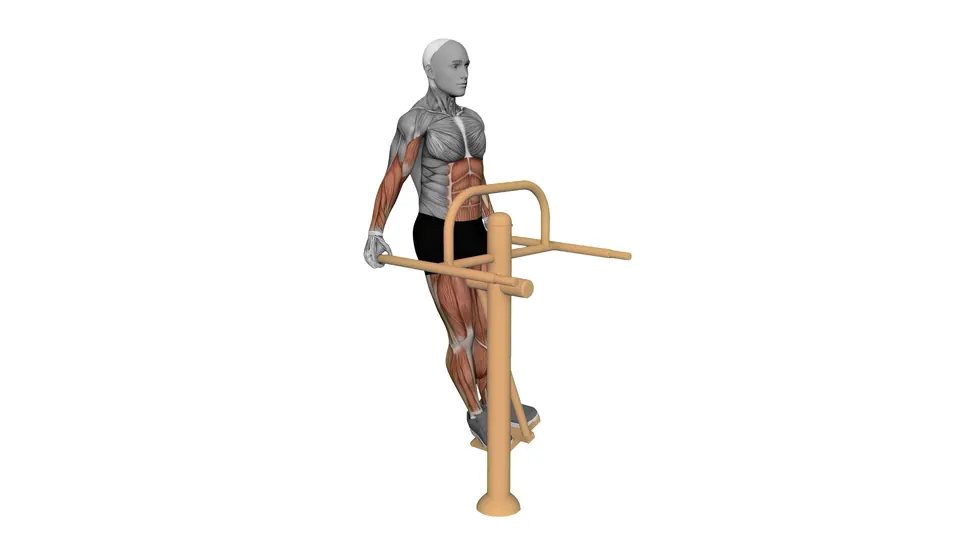
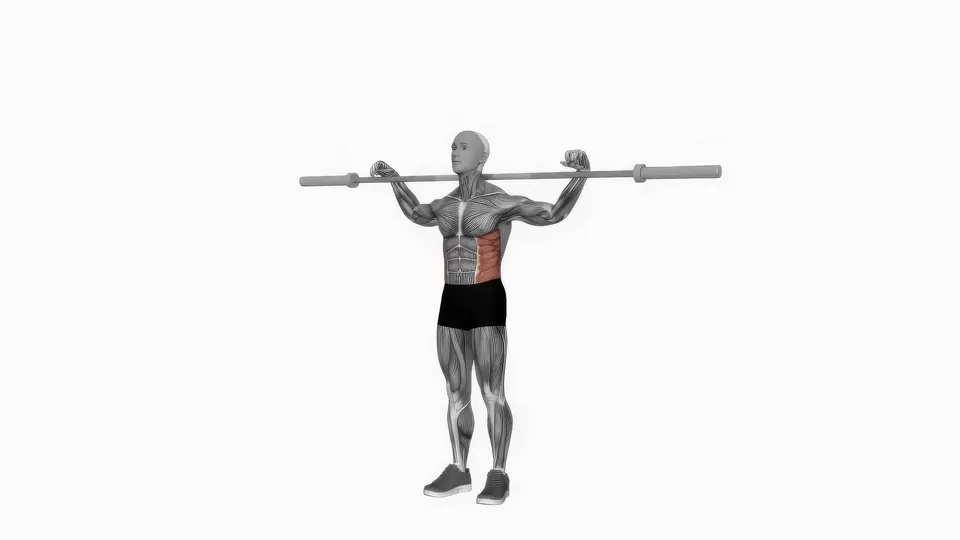
How to do the Standing Thoracic Rotation
- Stand tall, feet hip-width apart, hands on your hips.
- Turn your upper body to one side, hips facing forward.
- Return to the center, then turn to the other side.
Full technique — 6 steps
- Stand tall with your feet about hip width apart and your hands on your hips.
- Keep your hips and knees facing forward for the whole set.
- Slowly turn your upper body to one side as far as is comfortable.
- Let your head and elbows turn with your torso.
- Return to the center, then turn the same way to the other side.
- Keep alternating sides at a slow, even pace.
Common mistakes
- Turning the hips with the torso
- Leaning sideways during the turn
- Rushing the turn with momentum
- Bending the knees to turn further
Form cues
- Move through the trunk
- Keep hips facing forward
- Stay tall through torso
- Keep shoulders level
Where to start and where to go next
Same muscles, same movement. Too hard for now — step down; once it gets easy — step up.
- This exercise Standing Thoracic Rotation
- Harder Bent Over Twist
- Harder Plank to Lunge with Rotation
Quick answers
What muscles does the Standing Thoracic Rotation work?
Primary: Obliques 7/10. Also works: Lower back 4/10, Abs 3/10.
When should I do the Standing Thoracic Rotation in a workout?
Warm-up. Done at the start to get the body ready. ≈ 2 min with rest.
How many sets and reps of the Standing Thoracic Rotation?
Strength: 1–2 sets of 8–10 reps, rest 30 s, 6 reps in reserve. Muscle growth: 1–2 sets of 8–12 reps, rest 30 s, 6 reps in reserve. Endurance: 1–2 sets of 10–15 reps, rest 30 s, 6 reps in reserve.
What is a harder version of the Standing Thoracic Rotation?
Bent Over Twist (Beginner), Plank to Lunge with Rotation (35% of bodyweight).